How to Show Printable Area in Excel – Download your free How to Show Printable Area in Excel today and apply it straight away. Download it in seconds, print it out, and keep it handy wherever you go.
Excel is a powerful tool for organizing and analyzing data, but sometimes it can be tricky to figure out how to set up your document for printing. One important aspect of preparing an Excel spreadsheet for printing is being able to see the printable area. By showing the printable area, you can ensure that your data will fit neatly on the page and avoid any surprises when it comes time to print. In this article, we will explore how to easily show the printable area in Excel, so you can create professional-looking printouts with confidence.
Locating the Page Layout View
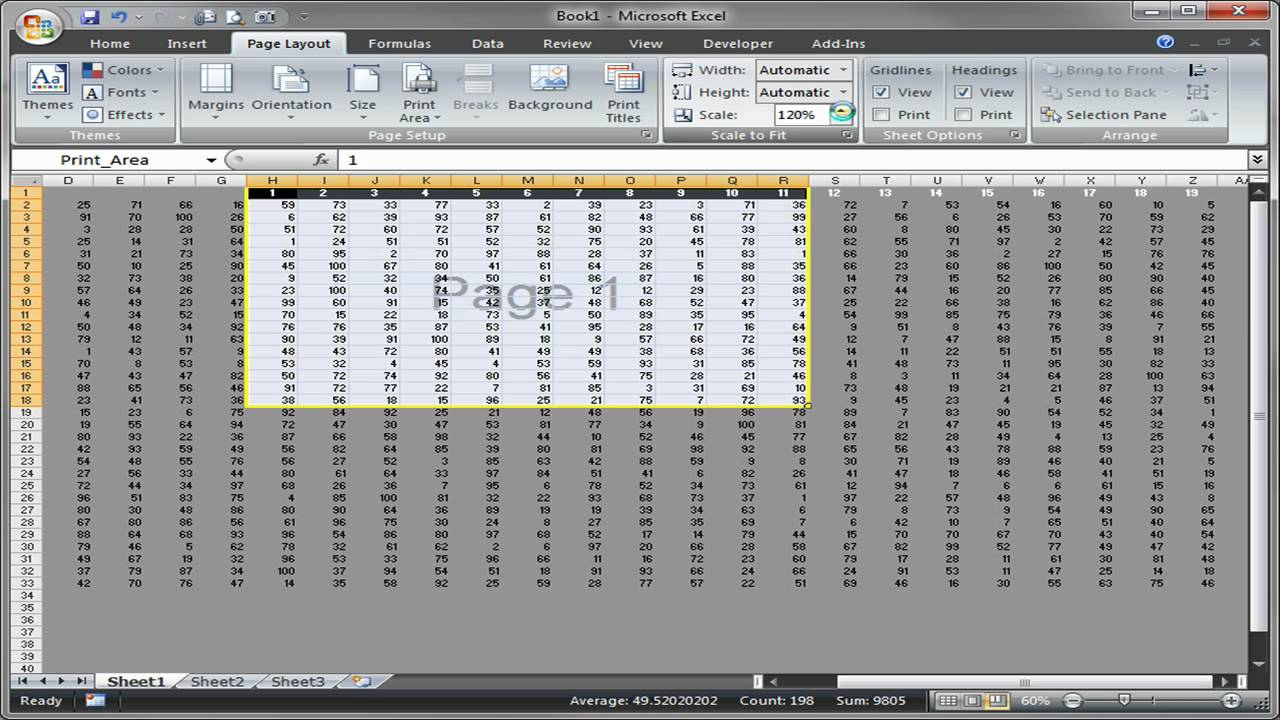
To show the printable area in Excel, the first step is to access the Page Layout view. This view allows you to see how your spreadsheet will look when printed, including where the page breaks are located and what will be printed on each page. To switch to the Page Layout view, simply click on the View tab in the Excel ribbon at the top of the screen, and then select Page Layout from the View options. Once you are in Page Layout view, you will be able to see a visual representation of the printable area on your spreadsheet.
In the Page Layout view, Excel displays dashed lines to indicate the boundaries of the printable area. These lines show you where the page breaks will occur when you print your document. You can also adjust the size of the printable area by dragging the page break lines to resize them. This allows you to customize the layout of your printed document and ensure that your data fits neatly on the page. Additionally, you can use the Page Layout view to add headers and footers, adjust margins, and make other formatting changes to optimize your document for printing.
Printing Your Document
Once you have set up your printable area in Excel, you can proceed to print your document with confidence. To print your spreadsheet, simply click on the File tab in the Excel ribbon and select Print from the options. This will open the Print settings window, where you can choose your printing preferences, such as the printer you want to use, the number of copies to print, and the page range. You can also preview your document before printing to ensure that everything looks as expected.
In the Print settings window, you can select the Print Preview option to see a preview of how your document will look when printed. This allows you to check for any issues with the layout or formatting before sending your document to the printer. If everything looks good, simply click the Print button to send your document to the printer. By showing the printable area in Excel and using the Page Layout view, you can ensure that your printed documents will look polished and professional every time.
How to Show Printable Area in Excel
Related Printables..
Disclaimer: The images found on our pages are sourced from around the web, and copyright remains with the original holders. We strive to respect intellectual property rights. If you are a copyright holder and want an image removed, please reach out to us.